Creating Beautiful Gel Nails at Home: A Beginner's Guide
Learn how to create beautiful gel nails at home with this beginner's guide. Discover essential tools, techniques, and tips for achieving salon-quality results without breaking the bank.
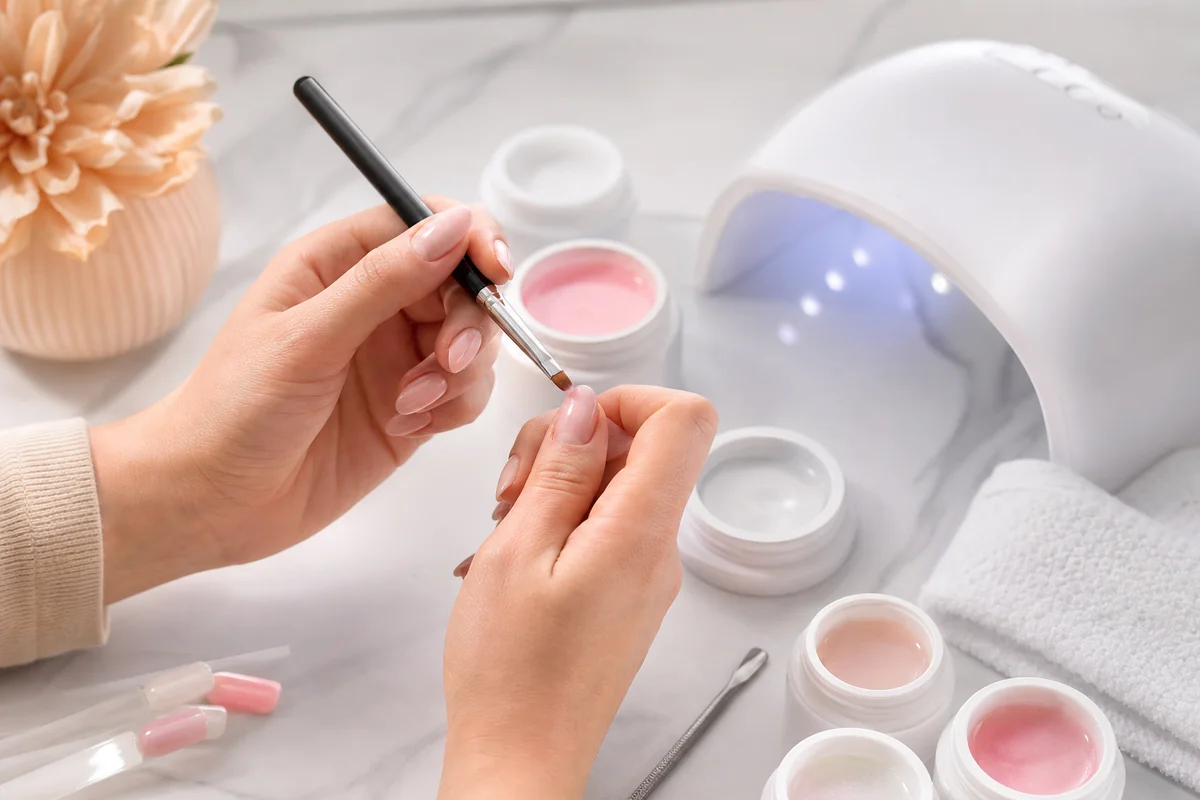
Creating stunning gel nails at home is entirely feasible with the right tools and a bit of practice. Not only can this save you time and money, but it also allows you to avoid the pressure of salon appointments. This guide provides a step-by-step approach for beginners, highlighting the most forgiving gel options and essential equipment needed for a successful nail modeling experience.
Can You Really Do Gel Nails at Home?
Absolutely! With the right materials and a clean setup, achieving gel nails at home is possible. Patience and a user-friendly gel are key—many beginners find success with just a bit of practice.
To get started, you will need an LED/UV lamp, a bonding gel, a sturdy building gel, color gels, a top coat, a file, cleaner, and brushes. For beginners, a self-leveling building gel in reliable studio quality, such as those manufactured by MPK Nails in Germany, is recommended because it can forgive minor mistakes.
It's essential to remember that your first attempts should not be compared to professional salon results. The first two or three sets are primarily for practice. By your fourth attempt, you will likely notice a significant improvement as you become more accustomed to brush control, gel application, and curing times. If you are balancing family and work, consider carving out small time slots for this activity—practical tips for relaxing family moments can be found on platforms like 123familie.de.
What Do You Need for Gel Nails? The Basic Equipment
Before applying your first gel, it's wise to review your complete set of tools. Randomly purchasing items can lead to overspending. A well-thought-out kit should include the lamp, gels, tools, and care products.
Here’s a breakdown of the essentials along with approximate price ranges:
- LED/UV Lamp: from about 25–70 EUR, depending on wattage and sensor features
- Bonding Gel (Primer/Bonder): from about 6–12 EUR
- Building Gel: from about 10–25 EUR per jar
- Color Gels: from about 5–10 EUR per color
- Top Coat (with or without a sticky layer): from about 8–15 EUR
- Files and Buffers: from about 5 EUR in a set
- Cleaner and lint-free pads: from about 6 EUR
- Brushes and wooden sticks (rosewood): from about 5 EUR
These price ranges are general estimates from German online retailers and may vary by brand, promotion, and size.
LED or UV Lamp – What to Consider?
A modern lamp is the heart of your home nail modeling setup. Nowadays, many combo lamps with both LED and UV/LED technology are available, capable of curing most common gels. It’s crucial to consider not just the wattage but also the compatibility between the lamp and the gel. Manufacturers provide specific curing times and wavelengths for their gels, which should be strictly followed.
It’s a misconception that “UV lamp equals LED lamp.” Pure UV tube lamps often require longer curing times and may not be suitable for all modern LED gels. A combined LED/UV lamp with a timer (e.g., 30/60/90 seconds) is a great option for beginners. If you plan to expand your lamp collection later, ensure it has enough interior space to cure your thumb properly.
Bonding Gel, Building Gel, Color Gel, Top Coat – What Does Each Do?
These four types of gels serve different purposes and work together as a layered system:
- Bonding Gel: creates a connection between the matte natural nail and the building gel.
- Building Gel: shapes the nail surface, provides stability, and evens out imperfections.
- Color Gel: provides the aesthetic—opacity, pigmentation, and finish.
- Top Coat: seals, protects against scratches, and adds shine or a matte effect.
For the color layer, choose products with clear pigmentation specifications. High-quality color gels in studio quality often provide full coverage in one to two coats, saving time and materials.
Tools: Files, Buffers, Cleaner, Brushes, Wooden Sticks
Even the best gel won’t help you without clean tools. A file with 100/180 grit is suitable for shortening and shaping, while a 180/240 buffer is ideal for matting and final corrections. The cleaner removes the sticky layer and degreases before applying the bonding gel. A small, flat brush with gel-compatible bristles makes applying the building gel and color gel easier. Rosewood sticks help gently push back the cuticles—avoid clipping or cutting.
What Gel is Best for Beginners?
For those just starting, a stable, self-leveling building gel is typically the safest choice. It corrects minor imperfections on its own and is less likely to break later.
Four criteria determine whether a gel is suitable for beginners:
- Stability: The gel should not run into the cuticle while modeling.
- Self-Leveling: It should smooth out brush strokes after a short resting time.
- Durability: Three to four weeks without cracks is a good benchmark.
- Curing: Clear manufacturer instructions regarding lamp, wavelength, and time are essential.
When choosing products, pay attention not only to consistency and application but also to the manufacturer’s labeling. Gels marked “For professional use only” are not ideal for home use. Stick to products that are appropriately labeled for your intended use.
Ultimately, focus on stability, self-leveling properties, and clear curing instructions. MPK Nails offers products that excel in stability and self-leveling consistency, making them ideal for those learning to model. Note that MPK Nails is a product shop, not a nail salon; you will be doing the modeling yourself with the materials provided.
Building Gel vs. Acrylic Gel vs. One-Phase Gel vs. No-File Builder Gel
The variety of gel types can be overwhelming at first. The following table categorizes the main variants, indicating which are particularly suitable for beginners.
| Gel Type | Beginner Processing | Durability | Specialty | Suitability | |-----------------------|---------------------|------------|-------------------------------------|-----------------------------------| | Building Gel 🏆 | Very good: self-leveling, stable | 3–4 weeks | Classic, many consistencies available | Best all-rounder for beginners | | No-File Builder Gel ⭐ | Good: minimal to no filing on the natural nail | 3–4 weeks | Skin-friendly, often requires slip solution | Skin-friendly alternative | | Acrylic Gel | Moderate: firmer, requires modeling | 3–5 weeks | Very stable, some practice needed | More suitable for advanced users | | One-Phase Gel | Easy: bonding, building, sealing in one | 2–3 weeks | Fewer layers, less flexible | Quick start, lower durability |
If you find a classic building gel too runny, opt for a medium to high-viscosity version. This type is more stable at the stress point (the center of the nail) while still being self-leveling enough to appear smooth.
What to Look for in a Good Color Gel
A quality color gel is determined by three straightforward factors. First, opacity: two thin coats should fully cover the building gel. Second, pigmentation: lighter shades like nude and pastel can be less opaque than bold berry tones. Third, the number of layers specified by the manufacturer—reputable brands typically recommend “1-2 thin coats.” According to manufacturer claims, color gels from MPK Nails often provide coverage in just one to two coats, making the modeling process quicker and more durable.
The following instructions outline a classic modeling process using bonding gel, building gel, color gel, and top coat. This method works on the natural nail without tips or forms and is intended as an entry-level guide. Allow approximately 90 minutes for your first attempt.
- Prepare and Mattify the Natural Nail: Wash hands, remove polish remnants, and file nails to the desired length. Use a 180/240 buffer to gently remove shine without damaging the nail.
- Push Back Cuticles: Gently push back using a rosewood stick; do not cut. Then thoroughly brush away nail dust.
- Cleaner and Bonding Gel: Degrease the nail plate with cleaner. Apply a very thin layer of bonding gel without touching the skin. Cure according to manufacturer instructions.
- Model the Building Gel: Place a small bead of building gel in the center of the nail and spread it towards the tip and edges with the brush. Build the highest point (apex) slightly above the center of the nail. Allow it to rest briefly, then cure.
- Curing: Follow the manufacturer’s specified curing time—do not shorten it. Inadequate curing can lead to skin irritation and allergies.
- Remove the Sticky Layer: Wipe the dispersion layer with cleaner and a lint-free pad. If corrections are needed, lightly file with a fine buffer and remove any dust.
- Apply Color Gel: Apply the first thin coat, cure, and if necessary, a second coat for full opacity. Cure each layer separately.
- Top Coat and Seal: Apply the top coat thinly, cure. For classic top coats, wipe with cleaner; for a no-wipe top coat, this step is unnecessary. Finally, massage nail oil into the cuticles.
A small pro tip: After 24 hours, apply a little nail oil and check if all edges are sealed. This early detection of loose edges allows you to secure them with a drop of top coat and a brief cure.
What Mistakes Should You Avoid?
Most issues with DIY gel nails arise not from the gel itself but from application errors. Knowing these pitfalls can save you from frustration and the need for corrections.
- Over-Filing: Aggressively filing the natural nail weakens it permanently. Only matte the shine.
- Incorrect Curing: Short curing times or a weak lamp can lead to sticky, soft layers and may promote skin irritation.
- Applying Too Thickly: Thick layers often do not cure properly inside. Opt for multiple thin layers instead of one thick one.
- Skin Contact with Gel: Gel on the skin can lead to “pull-ups” and may cause irritation or allergies. If in doubt, correct with a wooden stick before curing.
- Improper Sealing at the Edges: The free edge of the nail should be “capped”—meaning sealed with a thin layer of building and top coat. Otherwise, the polish may lift more quickly.
- Continuing with Skin Reactions: Redness, itching, or blisters at the nail fold are warning signs. Remove the modeling and consult a doctor if necessary. No gel is entirely “allergy-free,” and allergies to ingredients like HEMA should be taken seriously.
Cosmetic nail products containing HEMA or Di-HEMA intended for professional use must be labeled with appropriate warnings in the EU, based on the EU Cosmetics Regulation (EC) No. 1223/2009, which includes amendments effective since 2021. These substances are not banned but are common triggers for contact allergies in nail cosmetics. Clean application without skin contact, proper curing, and suitable tools can reduce risks.
What Does the Initial Setup Cost – and Is It Worth It Compared to the Salon?
While the cost of the initial setup may seem high, it can lead to significant savings over time compared to regular salon visits. Many find that the ability to create beautiful gel nails at home is not only economical but also a satisfying skill to develop. With the right approach, you can enjoy the benefits of salon-quality nails without the ongoing expense.